Wednesday, April 27, 2016
#AtoZChallenge, W is for Writing by Hand
I didn't start out life with very good handwriting skills. It seemed to take years of practice for me to even master the basics, with many after-school hours spent practicing and practicing. I just couldn't "get it," how to make the perfect letters my teachers seemed to insist upon. Then one miraculous day I wrote my name and it looked good! I think I was in the fifth grade, and the teacher finally said, "Well done!" I remember feeling proud and happy that I could write with a pen "like a grown-up."
Over the years my handwriting has gone from "just like the book" to wild and messy (note taking in college), then on to small and neat when I was writing my first manuscripts, to where I am today: large and scrawly and sometimes so chaotic even i can't read it.
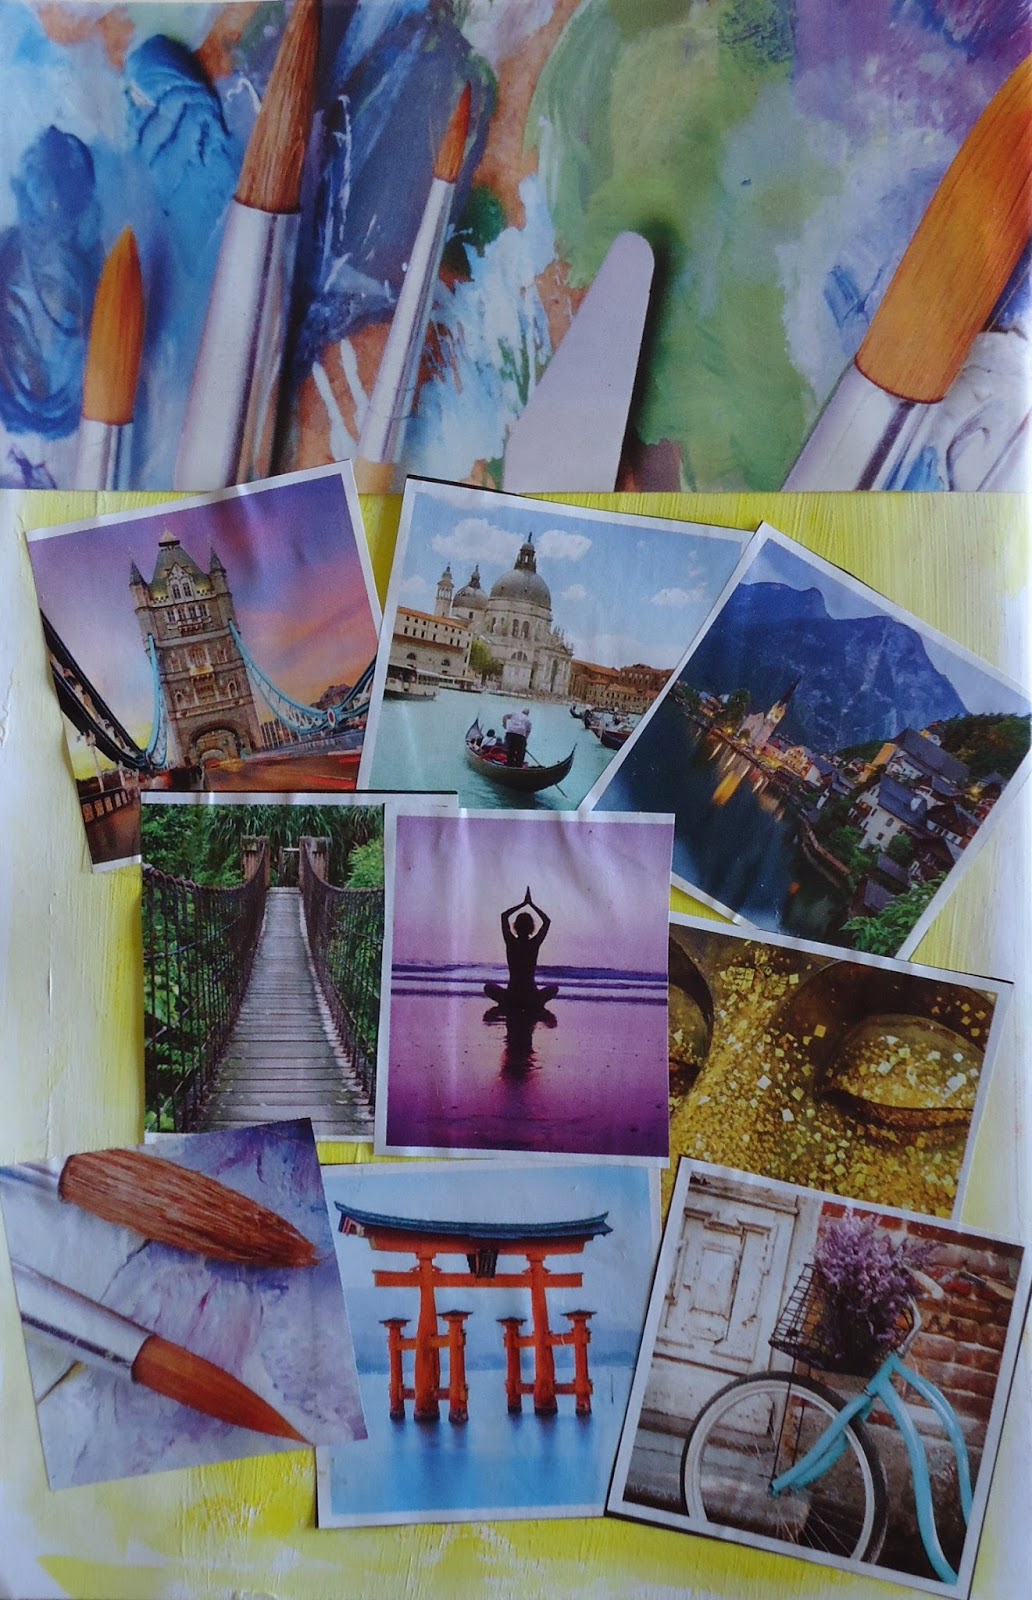
Whatever stage my handwriting is at, though, I've always regarded writing by hand an important part of the creative process, especially when it comes to writing the first drafts of my manuscripts. And I can't imagine for the life of me typing a journal entry. But when it comes to art journaling (as in today's page above) I think my letters need some improvement. Just sayin'.
The other day I was at an art group meeting when the woman I was sitting next to suddenly started to add some beautiful calligraphy to her sketch. It was amazing to watch her form an elegant caption in colored ink to her drawing of some sunflowers. In seconds her drawing went from "very nice" to "Wow! I wish I could do that!"
I expressed my admiration and she laughed, saying anyone could do what she was doing. She explained that calligraphy was really just another form of drawing. With a little practice, she said, it was easy to get the hang of it.
As soon as the #A-ZChallenge is over I'm going to purchase a book on lettering and calligraphy and see if I can make some gorgeous loopy letters myself. I think it's going to add an entirely new dimension to all my artwork. Something I've always envied about Asian painting is the nice vertical line of calligraphy often added along the side of the picture, usually a poem or affirmation of some kind. I don't think I'll go as far as learning Chinese, but it would be great to add my own line or two in a creative font (and one that I can actually read!).
So that's the goal: ruled paper, big pencil, lots of erasers--definitely entering my second childhood!
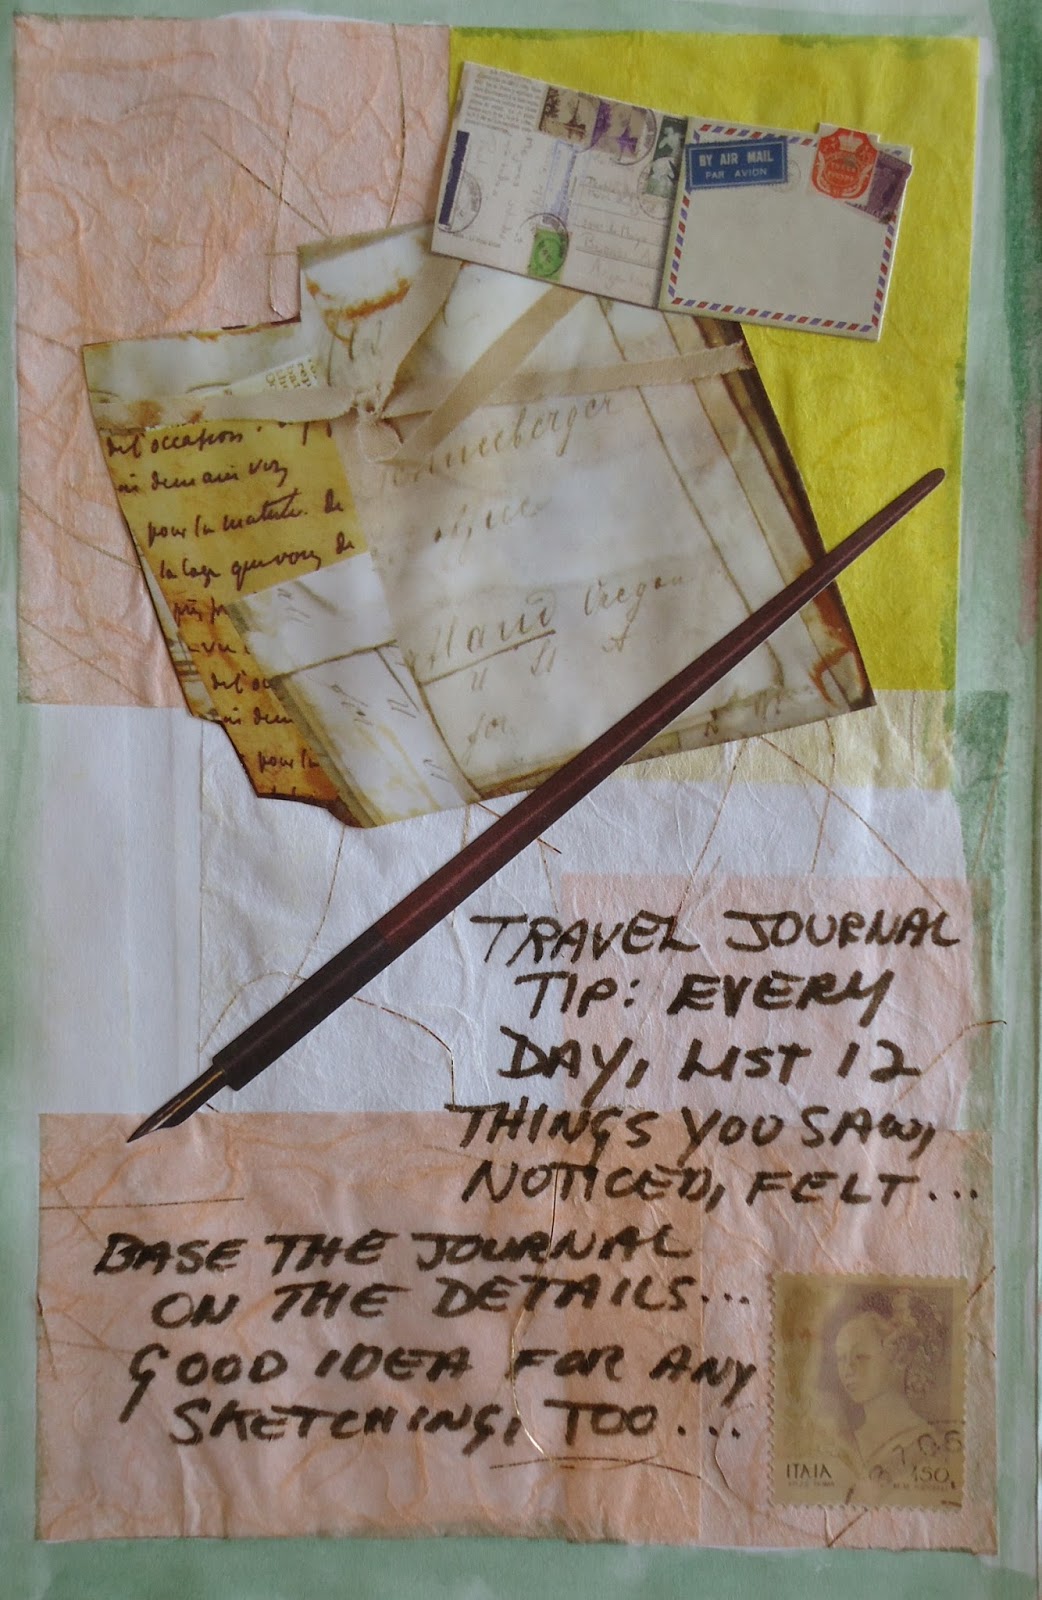
Tip of the Day: If learning calligraphy seems like yet another item to add to an already top-heavy to-do list, a quick and easy method can be to print out some nice fonts from your computer onto labels or decorative paper and then paste them into your journal. Nobody said journaling had be to hard. Keep it fun, and I'll see you tomorrow!
Tuesday, April 26, 2016
#AtoZChallenge, V is for Vision Board
If I wasn't participating in the #AtoZChallenge this year, I think my vision board for the month would be a nice, white, blank page--completely empty and as restful as white sheets on a freshly-made bed. But that would be totally boring for you, my dear readers, so for today's post I've tried to bring you something a little more colorful. And after assembling this mini-board full of travel and art supplies, I do feel re-inspired, re-charged, and re-energized to make it all the say to Z (only 4 more posts to go!).
Vision boards have always played a large part in my life and my journals, and I can testify to them always coming true. Always. Whatever I've collaged and focused upon has entered my life in one way or another, and often with much better results than I ever allowed for in my original vision.
Some of the boards I've made have included:
- Houses and cities I've wanted to live in. (Best example: When I was fourteen I made a collage for my Home Economics class describing how I wanted to live in London one day. Nine years later I was living and working there--and in a flat almost identical to the one I had collaged for my teacher!)
- Trips I have wanted to take.
- Work and teaching opportunities.
- Creative work: manuscripts, paintings, drawings, pottery and jewelry I've aspired to make.
- Getting published and selling my work.
Friends have told me that their vision boards have brought them all of the above and more, things such as improved relationships, better health and well-being, longed-for pets, and new jobs with better financial stability. Dream it, believe it, and write it down with some great images to accompany your inner vision . . . I can't think of a better use for an art journal!
Whether you choose to make a large or small-sized journal-page "board," keep in mind that it doesn't have to include your entire bucket list. In fact, sometimes it's more effective to create a single page or section of your journal for each individual goal or aspiration. The most important thing is to dream big. After all, the imagination has no limits, so why should you? Go for it!
Tip of the Day: If you don't mind the chance of letting other people see your dreams, the cover of your journal can be the perfect spot for your vision board. Not only will it make an otherwise dull cover brighter and more interesting, it will help you to visualize your forward path every time you see your journal.
Monday, April 25, 2016
#AtoZChallenge, U is for Unsent Letters
The first time I ever saw a letter and it's accompanying envelope as part of a book was in the Griffin and Sabine series by Nick Bantock. Bantock's work has been a big influence on my own and many others journal work and placing little hidden notes throughout my journals has now become a mainstay.
Writing unsent letters can be a healing and cathartic experience--and you never have to worry about accidentally pressing the "send" button before you're ready! No regrets, no unintended hurt feelings, no misinterpretations. The only person reading your letters is you, even if you've addressed them to all sorts of people. For instance, you might like to write an unsent letter to:
- The editor. The one who rejected you, and not very nicely.
- Mean-spirited book reviewers.
- Those kids in high school. You know the ones . . .
Feel better? Once you've got that out of the way, other letters can be written to:
- Your child-self, or who you were as a teen or young adult.
- Someone you've never met, but always have wanted to thank for inspiring you.
- Fictional characters in books or movies you've loved.
- Your future self.
- Anyone you still have an unresolved conflict with, but it's impossible or inappropriate to contact them.
- Write to your manuscript or any work-in-progress that is troubling or perplexing you.
Letters don't always have to go into envelopes, but it's fun to give them their own space, especially if you decorate the envelope in some way, or tuck other small items in along with the note. In the past I've included mini-photos and even a dollar bill! (I don't know why; it just felt right.)
If you're concerned about maintaining the privacy of your unsent letters, two techniques that have worked for me are to:
- Write out the full letter on a journal page and then collage over the entire text. The letter is there, but completely hidden by images relevant to the letter's contents.
- Try "stacked journaling," a technique that turns your handwriting into an elaborate and abstract work of art that will be unreadable to anyone. Basically you simply write in one direction, then write again over the lines in another, and so on, back and forth. Use several different ink colors to really make the piece "pop."
Personally, I miss the days of sending actual, handwritten or typed letters to friends and family: choosing nice stationary (onion-skin for airmail, heavy cream linen for query letters); waiting for the mail to arrive; everyone being okay with weeks or even months between replies. All of that can be reproduced in my journals, and with an added bonus--I don't have to go to the post office!
Tip of the Day: Buy yourself a greeting card or two. Whenever I've gone to buy a birthday or other type of card it takes me forever to decide on which one--I want them all! I've solved my dilemma by buying a few extra for myself and using them throughout the year to write "surprise" notes in my journal.
Saturday, April 23, 2016
#AtoZChallenge, T is for Travel Journals
Of all my journals, my travel journals have to be among my favorites. Every time I go through them I'm taken back in time and place and feel like I've just been on a mini-vacation.
Some of my tips for art journaling on the road include:
- Travel light. Choose a sketchbook that fits into your purse, carry-on, or back pack so you can have it with you at all times.
- Whatever your medium, take a sketchbook with heavier, rather than lighter paper. You might start out thinking you don't like watercolor, but then end up buying a set somewhere during your travels. Be prepared for new choices.
- Pens and pencils: I'm a big fan of water-soluble pencils. You only need between 6 and 12 to have a wide range of colors. Throw in a waterbrush, a black ballpoint or roller pen, a mechanical pencil, and you're ready to go!
- Before you leave home, pre-tone some of your sketchbook pages. Laying down a light watercolor wash or a background of soft pastel can save a lot of time when you reach your destination. It will also help to give your sketches a more finished look.
- A large-size, heavy-weight plastic zip-lock type of pouch or folder is a must-have for collecting museum brochures, ticket stubs, menus, flyers . . . you know, stuff! Bring along a glue-stick as well if you'd like to paste anything into your journal on site, although it's often easier to collage once you get home.
- A small viewfinder. I used to think I could get away with not having one, but now I think it's indispensable. For me, at least, seeing a new mountain vista or city-scape for the first time can be overwhelming. A viewfinder helps me to break down the scene into sketch-size pieces. It's also a helpful tool for isolating detail I might want to make a special note of.
Tip of the Day: Another kind of travel journal you can make, and without leaving home, is to create a journal based on a location you've always dreamed of visiting, but haven't got there yet. Find images online, in travel magazines, and from friends' personal hordes and photos. Bon voyage!
Friday, April 22, 2016
#AtoZChallenge, S is for Stamp it Up!
Raise your hand if you remember making a carved-potato stamp in grade school? Big piece of newsprint, runny tempura paint? Having the best time ever?
Those potatoes have stuck in my mind for a long time. One Christmas we used cut-up sponges instead and made our own gift wrap. My parents probably wondered what their tax dollars were being spent on, but craft projects were always my favorite part of the school day.
Today I still play with stamping, only I usually go for fancy store-bought ones, as well as real, live postage stamps. I like to collect both kinds when I travel: on today's art journal page I used a postage stamp from Taiwan, a good old 1-cent USA stamp, and one I cut out of a travel magazine. I also used a couple of rubber stamps, placing the butterfly on yet another of my practice apricot sketches similar to the one I pasted onto "A is for Art Journal." (This example shown here was drawn on a piece of fabric interfacing--a very interesting experiment and highly recommended.)
But going back to rubber stamps, the one problem is that they're pricey. I always buy them when they're on sale, which saves a lot of money, but there's other ways to stick to a budget:
- Avoid the art supply stores and shop instead at dollar and discount stores. Sometimes they have fantastic deals and selections.
- Carve your own stamps from rubber and plastic erasers (including the ones at the tip of a pencil) with an X-acto knife.
- Carve old wine corks.
- Cut out shapes from thick or corrugated cardboard.
- You can make all sorts of designs from dried modelling and paper clays.
- Don't forget those potatoes! Other root vegetables can work too (I promise this isn't an April Fool's joke).
- Sponges.
- Household items: hairbrushes, toothbrushes, embossed wallpaper scraps. Use your imagination.
- Lino-blocks.
Many of these techniques, especially the potatoes and cardboard, will probably have a one-time, one-project use, but that's okay. It's easy to get bored with your stamp collections (one of the reasons I don't like to pay too much for them) and after several butterflies and seahorses you're soon longing for a kitten- or parrot stamp.
The only other thing you'll need for stamping besides shape and design is some color. Ink pads for stamps come in so many shades and styles today it's difficult to choose; some provide a faded "vintage" look, others have a gilded, metallic appearance. Just like making your own stamps, however, you don't always need a commercial stamp pad. Watercolor, washable felt tip pens, acrylic and other paints work just as well if not better depending on your project.
So the next time you receive a card, letter, or package with an attractive stamp adhered--save it. I like to keep a little bit of the actual envelope's torn pages "framing" the stamp, as well as the entire postal imprint--almost as good as a free rubber stamp, especially if its from overseas!
Tip of the Day: Of all my stamps, the one that means the most to me and that I'll never get bored with is my personal stone seal I ordered from Taiwan: Happy Little Cat. If you'd like something similar, I recommend the company I went through: Asian Brush Art. They also have lovely pre-carved Chinese character stamps that you can purchase to enhance your work with balance and a happy thought for the day.
Subscribe to:
Posts (Atom)